Account Management
Profile
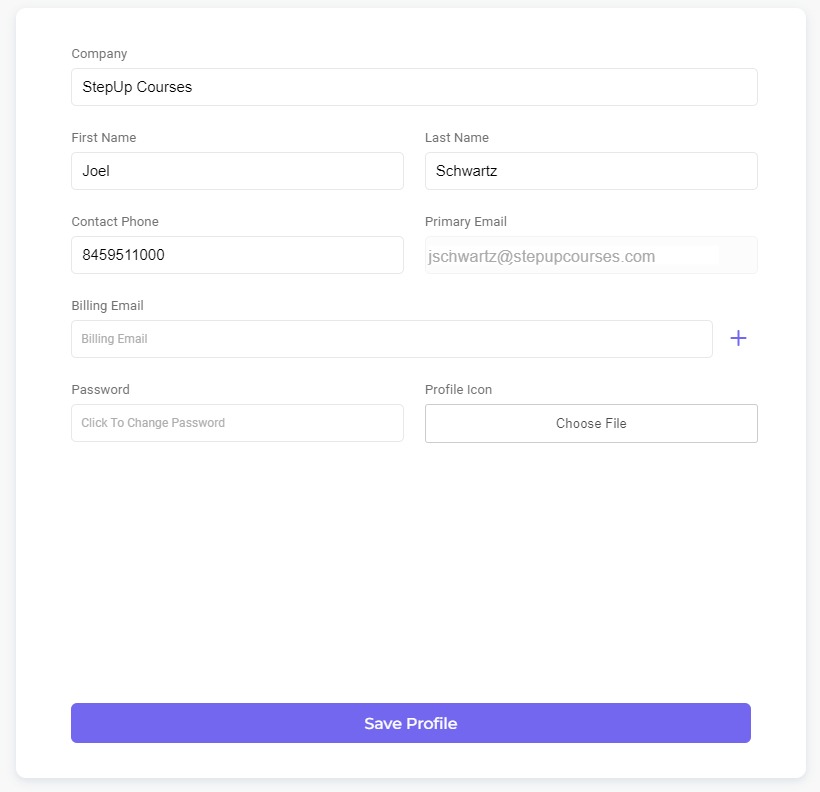
Manage your profile by clicking your name at the top right corner and selecting the 'Profile' option. You will be able to view and edit your:
- Company name
- Contact information (name, email, billing email(s), and phone number)
- Password
- Profile icon (which will be visible in the portal banner as well as your podcast album, if applicable)
Billing Information
Manage your billing information by clicking on your name at the top right corner and selecting the 'Billing' option to:
- View your plan and pricing.
- View your account balance.
- Process payments.
- View the minutes used per month (applicable for per-minute plan).
- Add and update your payment method.
- View and download past invoices and their statuses.
- View and download transaction history.
Explore the detailed actions by following the steps below (each step corresponds to the numbered elements in the screenshot below):

- "+Add Payment" button: Click to process payments, enter the desired payment amount and select your preferred saved payment option from the dropdown.
- "Payment Methods" button: To add a payment method, click "Payment Methods" and then select "+Add Payment Method" from the top right. Enter your credit card details, save the information, and, if needed, set it as your default payment method by toggling the "Default" option before saving.
- "PDF" icon: Click to view an invoice situated to the right of the desired invoice under the Invoices section.
- "Credit Card" Icon: To manually process payment for a specific invoice (after the 7th of the month), click the "Credit Card" icon located under the "Action" column, following the same steps described in step #1 above.
- "Invoices See All>" button: Click to view all invoices in the top right corner of the Invoices section. Here, you can view, process, and filter invoices. Use the filter drop-down in the top right corner to select your preferred category (All, Paid, Unpaid) and click "Filter." To clear the filter and view all invoices, click "Clear."
- "Transactions See All>" button: Click to access all transactions at the top right corner of the Transactions section. From here, you can view all transactions and export a transaction report by clicking the export icon in the top right corner.
User Management
Use this page to view and manage your account's sub-users and to generate new sub-user accounts. Unlike Admins, sub-users do not possess access to transactional details, such as credit card information or invoices; their access is determined by the settings established by the admin on this page.
The main view provides information about your sub-users, including their first and last names, email addresses, and actions (options to edit or delete a user), along with the option to search.
- To create a new user, click the "+Add User" button and input the required information in the right-side panel, which includes:
- First and Last name
- Email address (Required)
- Login Password (initially set by you, but it's recommended for sub-users to reset and set their own).
- Permission section: By default, sub-users have access to all Albums, Labels, Conference Rooms, Voicemails, and Campaigns. If you wish to restrict access, select "Specific" from the right drop-down and specify the items the user should have access to.
- Set Page Permissions: Click the button and check the appropriate checkboxes for the modules you want your sub-users to access through their portal account. If not enabled, the user won't have access to any portal modules.
Please keep in mind that for your sub-users to access any portal module, you must configure their permissions in the Set Page Permissions box accordingly.